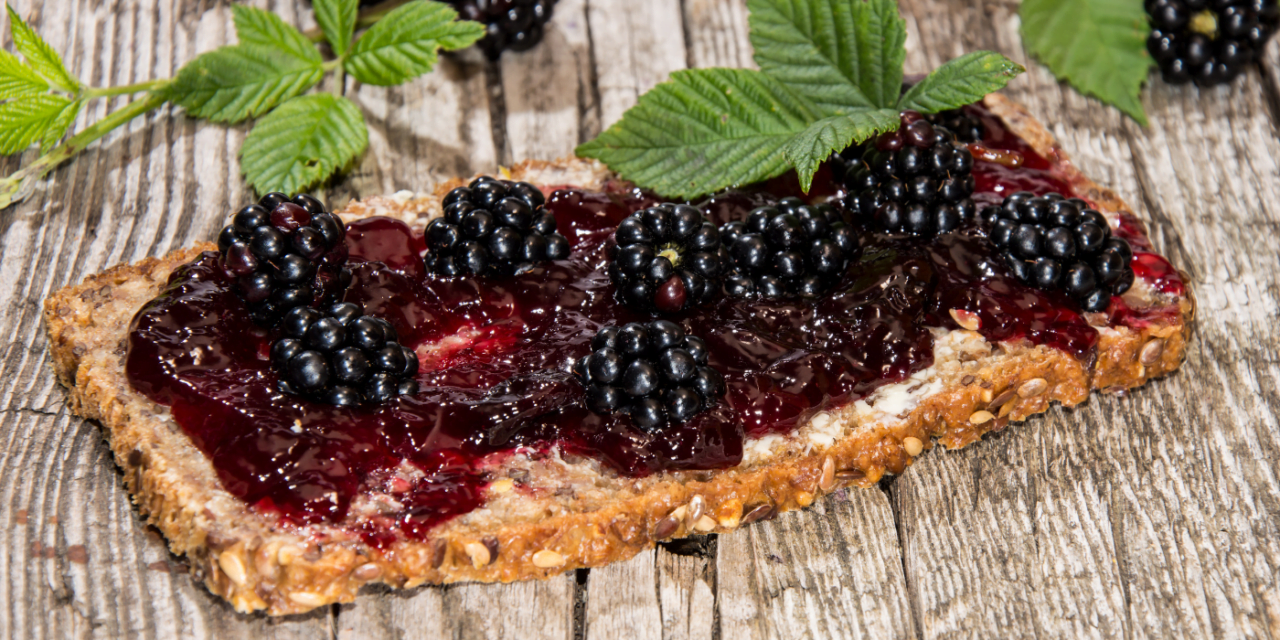
Expensive store versions can’t touch this simple, no-longer-secret family recipe for blackberry jam.
The whole family can get involved in the process! The different steps are wonderful practical life activities for children (as ability appropriate and supervised).
⇒ kid-tested, mother-approved
Prep time: 30 minutes
Cook time: 30 minutes
Total time: 1 hour
Yield: varies by the size of the batch
2 cups of berries yields about 1 2/3 cup of jam
Several years ago, I started canning produce from our garden. Green beans, tomato juice, tomato sauce, jams, pear butter, apple butter, and salsa have all become canning staples at our house. Of all of the things that we can, blackberry jam is a family favorite.
We live on a family farm and have access to wild blackberry bushes. Every summer my husband, Brett, will scout out the various blackberry patches around the farm and watch for them to start ripening. Once they start getting ripe, he will spend a couple of hours a day picking berries.
The kids are always eager to help me with the jam. They love to mash the berries and measure out the sugar. It’ll be our secret that they are gaining teamwork, practical life, math, and science skills in the process! The kitchen is one of our favorite classrooms.
Here is our favorite blackberry jam recipe:

tools
If you don’t have any of these items, we provide affiliate link recommendations.
- canning jars and lids; the number depends on how many cups of berries used (Here is a 2-pack. Buying a dozen jars will save you $1 per jar).
- canning tongs
- large pot with canning rack
- Already have a large pot and just need a canning rack? This set has the rack, tongs, and other helpful tools.
- wire cooling rack
- optional pressure cooker
ingredients
1-to1 ratio of blackberries to sugar
I used 6 cups of blackberries
6 cups of sugar
It doesn’t get more simple!
instructions
")
- Wash, drain, and then mash the berries. I like to mash them into an eight-cup glass measuring bowl using a potato masher. This allows me to see exactly how many cups I am mashing as I go. I shoot for 6 cups of mashed berries at a time but have used anywhere from 4-8 cups in a batch.
- Measure sugar into a separate bowl. Your cups of sugar need to equal the cups of mash berries. Ex: 6 cups of berries = 6 cups of sugar
- Prepare your jars. I place the jars upside down and lids in a shallow pan filled with a couple inches of water. Bring to a boil over medium high heat. I let them simmer on a low boil while I cook the berries. This will sterilize and heat up the jars so you aren’t pouring hot jam liquid into a cold jar. The jars can crack if you don’t heat them first.
")
4. Place your canning rack into the large canning pot and partially fill with water; bring to a boil while working on the berries. This is the start of your hot water bath that will be used once your jars are full of yummy jam.
5. Pour your mashed berries into a large pot on the stove. Using a pot that is large enough to allow the berries to boil without boiling over. Over high heat, bring to a boil that can not be stirred down. Stir continuously with a whisk while boiling for 3 minutes.
6. Add sugar, bring mixture back to a rolling boil, and stir continuously with whisk for another 3 minutes.
7. Remove from heat and whisk for an additional 3 minutes. Blackberries contain natural pectin. By whisking continuously throughout this process you force the pectin out of the berries and do not need to add any additional pectin to the recipe.
")
8. Ladle the jam into the hot jars leaving at least ¼ inch of space at the top of the jar.
Place lids and rings on the jars.
9. Using your tongs, add the full, closed jars to the hot water bath in the large canning pot; add enough water to cover the jars and bring back to a boil. Boil for 15 minutes.
10. Remove the jars from the water bath and cool on a wire rack until the lid seals pop.
11. Stock up for the winter.
Enjoy!

Amanda Kaye
Catch more of our adventures on my author page.

don’t miss a thing!
sign up for weekly tips and freebies

