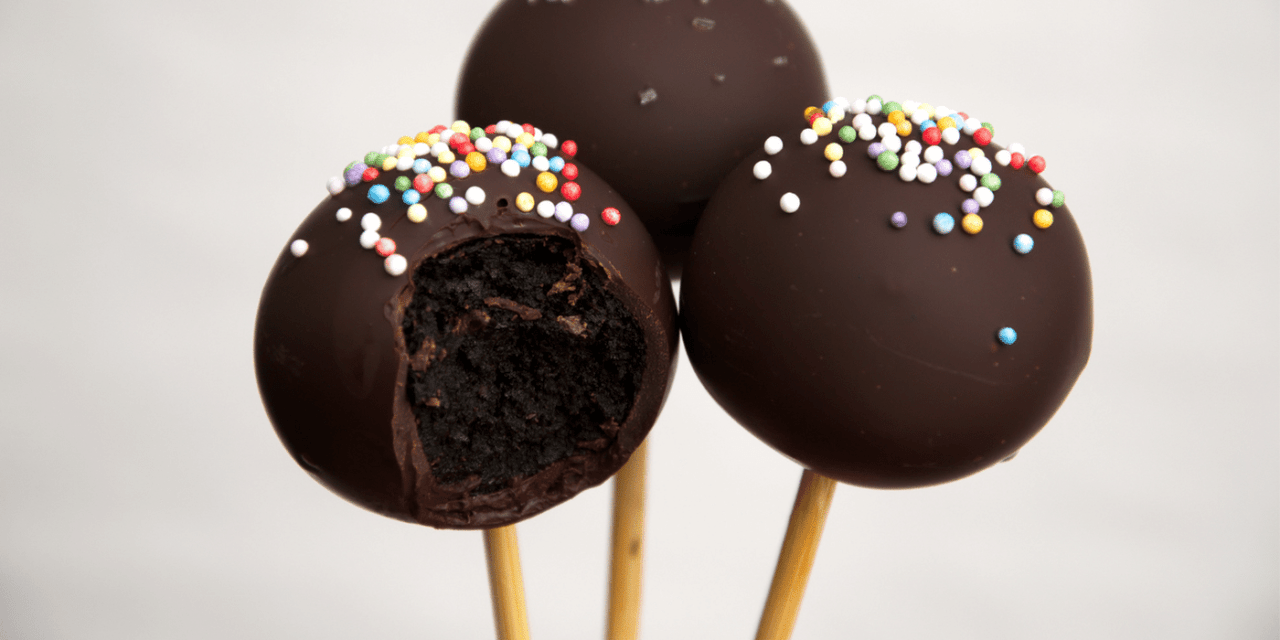
Want to try your hand at cake pops? This easy method will have you popping them out like a pro!
⇒ kid-tested, mother-approved
Prep time: 30 minutes
Freeze time: 15 to 30, depending on your cake selection
Total time: 60 minutes
make your favorite cake for the pops
Bake your favorite cake recipe for your base. We have made cake pops from a variety of cakes and flavors, and they have all turned out delicious. You could even use a store-bought cake! We won’t tell anyone.
Need a chocolate gluten-free cake recipe? Give this a try. Keep in mind, the frosting in the recipe is not needed when using it for cake pops.
Once the cake has cooled, the popping begins!
This page contains affiliate links for some of the things that I love. Shopping through these links earns 3 Moms Blog a tiny percentage of your purchase at no additional cost to you.
equipment for making cake pops
- Mixing bowl
- Mixer
- Meat baller
- Cake pop sticks
- Cake pop stand (A thick piece of styrofoam or an upside-down egg carton with a hole poked into each egg compartment works well too.)
cake pop ingredients
- The cake mentioned above
- Milk (If you are allergen-free, you can substitute milk for your favorite non-dairy milk. I use coconut milk in my dairy-free recipes.)
- Bag of chocolate chips (Allergen-free chocolate chips work great if you are dairy-free.)
cake pop instructions
- Crumble the cake into your mixing bowl.
- Add milk slowly while the mixer is on low. Add just enough milk so the cake becomes a consistency that can be formed into a ball. The amount can vary greatly based on humidity levels.
- When the desired consistency has been reached, form the mixture into balls. A meat baller works great for little kids who cannot yet form them by hand.
- Insert a cake pop stick into each ball.
- Freeze the cake pops, usually at least 15 minutes.
- Once the cake pops are frozen, melt chocolate either in the microwave or on the stove. We prefer to melt chocolate chips in the microwave. Make sure you stir every 30 seconds.
- Holding the stick, dip the cake pop into the melted chocolate. Spin and tap the stick on the side of the bowl to shake off excess chocolate.
- Add sprinkles to the top while the chocolate is still warm.
- Sit the cake pop into the stand to harden.
- Enjoy!
You have just made beautiful cake pops that will have friends and family wanting to pop in more often!
If you have any extras that won’t be eaten right away, you can wrap them in plastic wrap and place them in a freezer bag to save for later.
Let me know how this works out for you. I do have a few words of caution for cake pop-making in my post about Mother’s Day.
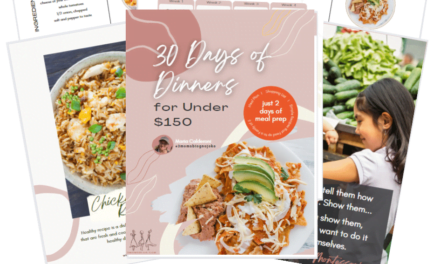
Maria has other great recipes for you in her 30 Days of Dinners FREE meal plan.

4th of July Beekeeping Breastfeeding Budgeting Childhood Allergies Christmas Culture/Geography/History Doctor Visits Encouragement Food Allergies Free Montessori Printables Free Printables Funschooling Gardening Gluten-Free Grain-Free Home Management Homeschool Curriculum Homeschool for Free Homeschool Organization Homeschool Planning Homeschool Printables homeschool transcript Humor Infant Kids Birthdays Language Arts Meal Planning Montessori Home Montessori Homeschooling Montessori Parenting New to Homeschooling Pets Positive Parenting Practical Life Printable Planners Recipe Recipe Cards Science Summer The Thrifty Widow Toddler Unschooling Vegan Youth sports